
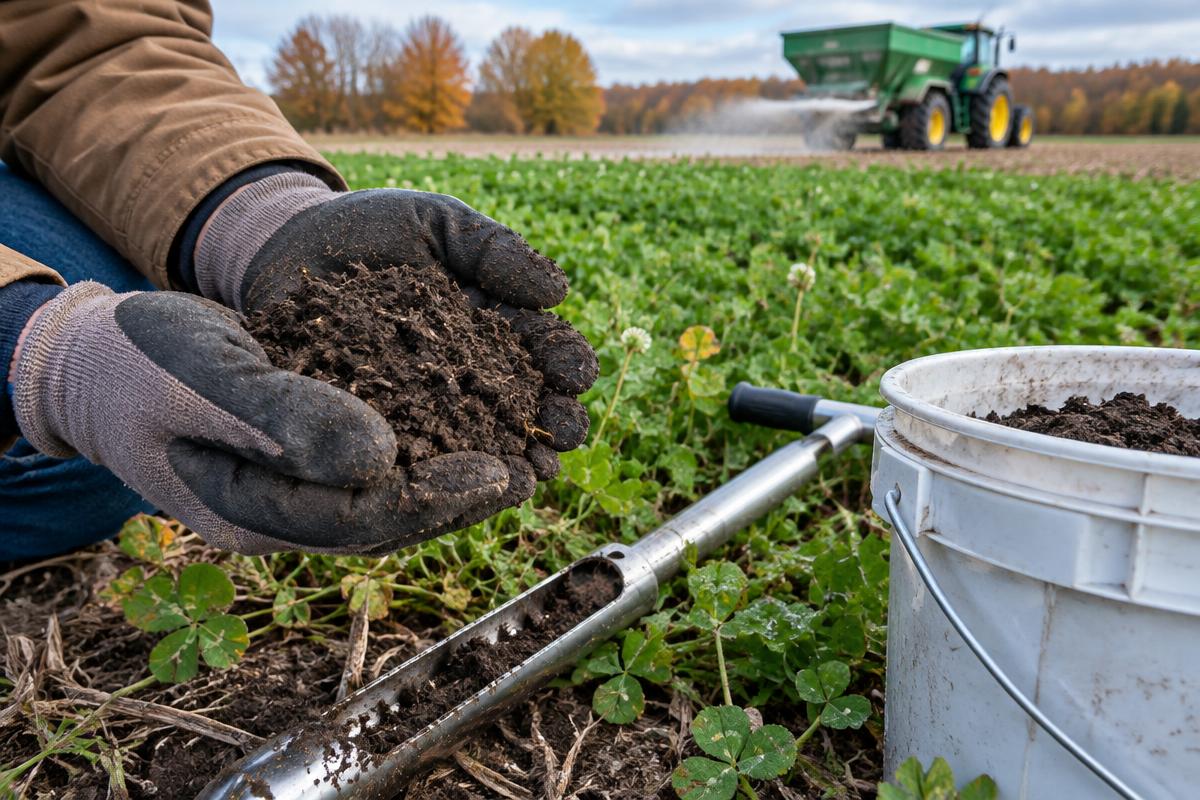
Here's the scoop: a food plot can have good seed, decent rain, and plenty of effort behind it—and still struggle because the soil is too acidic for the crop you're trying to grow.
That's where agricultural lime can help. But the right starting point isn't ordering a truckload because the neighbor did. It's taking a soil sample and finding out whether your plot needs lime, how much it needs, and what else may be holding it back.
In northwest Wisconsin, soils can change considerably across one property. The sandy opening near the road may need a different plan than the heavier ground behind the woods.
What acidic soil means for your plot
Soil pH describes how acidic or alkaline the soil is. When pH gets too low for a crop, nutrient availability and root performance can suffer. Applying more fertilizer doesn't automatically solve that problem.
Clover also depends on a healthy relationship with nitrogen-fixing bacteria. Strong acidity can interfere with that system, making establishment and persistence harder.
Ag lime neutralizes soil acidity over time. It isn't a substitute for fertilizer, drainage, sunlight, or weed control. Think of it as correcting one important part of the growing environment so the rest of your investment has a better chance to work.
Start with a representative sample
A useful soil test starts with useful sampling.
Follow the testing laboratory's directions for sampling depth and collection. Take multiple subsamples across the area, combine them in a clean container, and submit the required amount. Avoid fertilizer spills, old burn piles, and other unusual spots unless you want those areas tested separately.
Keep distinctly different soils or management areas separate. Mixing a wet corner with a sandy hilltop can produce an average that describes neither one very well.
Tell the lab what you intend to grow. A recommendation for clover may differ from one intended for another crop. If the plot has received lime recently, include that history too.
What pH do clover and brassicas prefer?
As a general planning guide, many food plot clovers perform best around pH 6.0 to 7.0. Many commonly planted brassicas also do well around pH 6.0 to 7.0, though the preferred range varies by crop.
Those ranges aren't a reason to chase one exact number across every acre. Use the laboratory recommendation and the needs of the actual seed mix.
Just as important, pH alone doesn't tell you the lime rate. Soil buffering capacity affects how much lime is required to change acidity. Two samples with the same pH can receive different recommendations.
More lime isn't automatically better. An excessive application can move conditions beyond the crop's preferred range and create new nutrient problems.
Why fall is often a good time to spread
Ag lime needs time, moisture, and contact with soil to react. It doesn't work like flipping a switch the day before planting.
Fall spreading often provides useful lead time before a spring planting. It can also fit naturally after vegetation control or other site preparation, when the opening is accessible and the work won't disturb a growing crop.
That doesn't make fall the only useful window. Spring applications can still be worthwhile when the test calls for lime. Just keep expectations realistic: a substantial correction may not be complete by planting day.
Plan around field conditions rather than the calendar. Wet soil, rutting, runoff risk, or poor access can make a convenient date the wrong spreading opportunity.
Product and placement matter
Agricultural limestone products differ in neutralizing value and fineness. Those differences affect how the material performs and how a laboratory recommendation translates into an application rate.
Compare products on their effective liming value, not just price per ton. Use the supplier's product analysis and the lab's guidance to determine the appropriate rate.
Uniform spreading matters too. Heavy stripes and missed strips won't produce a consistent growing environment. A small irregular woodland plot can be harder to cover evenly than an open field, so identify corners, slopes and turnaround room before the spreader arrives.
For a new plot, incorporation into the recommended soil depth can improve contact when tillage is appropriate. An established clover plot may receive surface-applied lime instead, with a slower correction below the surface. Avoid tearing up a productive stand without a clear reason.
Build lime into the whole project
A practical sequence is straightforward: sample the soil, review the results, choose amendments, arrange access, and schedule spreading with enough lead time.
Then address the other basics—sunlight, competing vegetation, suitable seed, and a seedbed prepared without working wet soil. Retest at the interval your lab recommends to track progress rather than guessing from the plot's appearance.
The numbers that matter
- Sample depth: about 6 inches for a plot you'll till; about 3 to 4 inches for established clover you won't till.
- Cores per sample: pull at least 10 to 15 cores in a zigzag across each area, mix them, and send in one sample per distinct area (sandy knob, low corner, new opening).
- Where to send it: the UW Soil and Forage Analysis Lab in Marshfield tests Wisconsin soils and gives lime and fertilizer recommendations by crop. Write "clover" or "brassicas" on the form.
- Target pH: clover does best around 6.5 to 7.0; most brassicas are happy from about 6.0 to 7.0.
- Reading a Wisconsin lime ticket: ag lime here is sold by neutralizing index (NI) grade, such as 60-69 or 80-89. A higher NI grade does more work per ton, so the lab rate is adjusted to the grade you buy.
- Timing: lime works slowly. Spread in fall for a spring planting and expect the full effect to build over the following months. Retest every 3 to 4 years.
Want help getting the groundwork right? Request an estimate from The Dirt Depot for soil testing, ag lime spreading, food plot installs, and the chisel plowing or disking your site actually needs.